My homelab self-host journey
Continue from my homelab unexpected journey, this post will cover the journey that I discovered some open source tools can be hosted myself, which replace many external cloud services.
Redundant Hard Drives
So, I had 50TB storage for my media server and a 12TB hard drive waiting to be utilized, it's again an overkill so I looked for other uses for the redundant storage. Found out my Google Photos and Google Drive are charging me based on GB, then why not host them myself with TB of storage. A quick research led me to Immich and TrueNAS, both are free open source.
Immich was straightforward, the app and its usecases are similar to Google Photos. How to setup the Immich server was a different story, I couldn't host it straight on my Windows PC like the Plex media server, the recommended method was to install with Docker Compose. I knew Docker is a tool to dockernize backend micro services but Docker Compose was a new world to me, explore Docker Compose was a must step to quickly get my self-host services running.
I could use Docker Desktop on my Windows PC but I chose the hard way to host Docker Compose, which was to get an Ubuntu Server and run it as a Virtual Machine (VM) on Hyper-V. My first experience on Virtual Machine was with VMware in 2012, back then I couldn't afford a MacBook so I run Mac OS-X on VMware on my Dell laptop (which was quite struggling). Discovered Hyper-V was a game changer, I followed this guide to enable Hyper-V on Windows, then I was shocked on how easy to set up a Virtual Machine nowaday, steps are straightforward and the machine is powerful. For Ubuntu Server, I picked the 22.04 LTS version and followed this step-by-step guide to get my first Ubuntu Server, I named it vmh-ubuntu-home-server. I gave my home server a static ip, learned to ssh to Ubuntu from my macOS terminal, then the last step was to Install Docker Engine on Ubuntu.
Back to the Immich server; from Ubuntu ~/immich-app/ folder and followed the Docker Compose commands, I realized I missed an important part: how tf do I attach the hard drive? So the Hyper-V VM was stored in my PC SSD D:\ and it's clearly not enough space for Immich assets, the solution was to create a 2TB vhdx drive, store that file in my 16TB HDD E:\, attach vhdx hard drive to Hyper-V VM, from Ubuntu mount the drive to /mnt/immich folder, all by following this guide. After that, I changed the Immich environtment variables accordingly in the .env file: UPLOAD_LOCATION=/mnt/immich/library DB_DATA_LOCATION=/mnt/immich/postgres, run the command docker compose up -d, then I got my Immich server up and running at http://<ubuntu-home-server-ip>:2283. A small tip: to keep the drive mounted at startup, I had this line /dev/sdb1 /mnt/immich ext4 defaults 0 1 in /etc/fstab. Then, the Immich Quick Start guide was easy, I got it to work with no struggles.
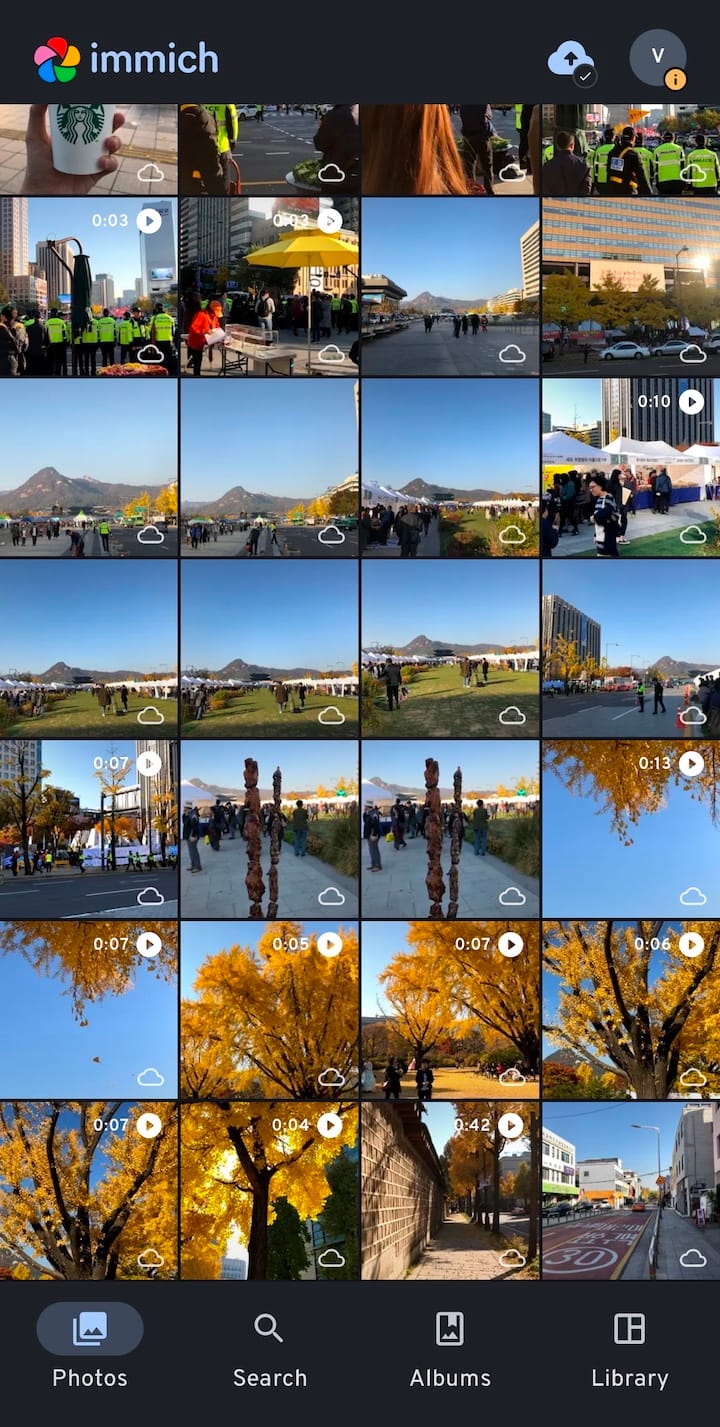
My Immich server was successful launched but no assets in it yet, the next part is to migrate my data from Google Photos to Immich server. The first step was to use Google Takeout to export my Google Photos, it took a few hours to compact the whole library. Downloaded the zip files from Google Takeout, then I used this Immich-Go script to upload to Immich server. And here is the result:
Hyper-V, Ubuntu Server, Docker Compose and Immich were so cool for me, got it to work was a big milestone and the self-host journey became so easy after this point. I still had many more storage to play with and a NAS server was the next move.
TrueNAS and a new Rig
A NAS server is a very popular way to deal with the limited resource of external cloud storage. There are many options to host a NAS server; I saw many people own a Synology, others will self-host Unraid or TrueNAS, the most standout option for me was TrueNAS SCALE.
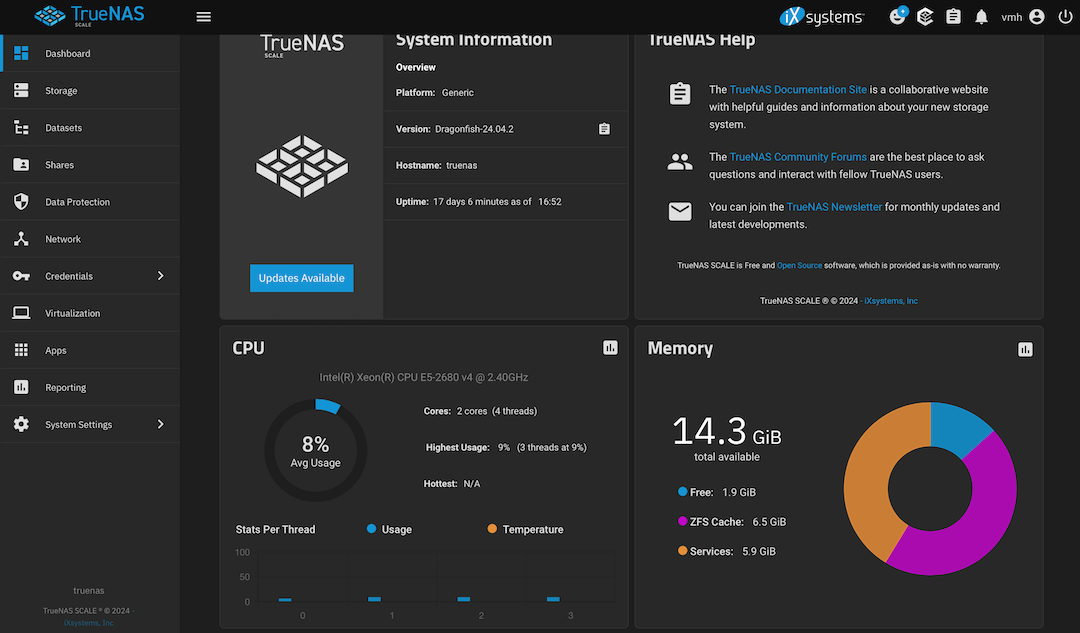
The steps to install TrueNAS SCALE on Hyper-V was similar to install the Ubuntu Server. Download the iso file from their website, create a Hyper-V Virtual Machine, then follow the OS installation steps, no struggles at all. Assigned the VM a static ip then access the web UI on my browser, and the TrueNAS menu looked really interesting.
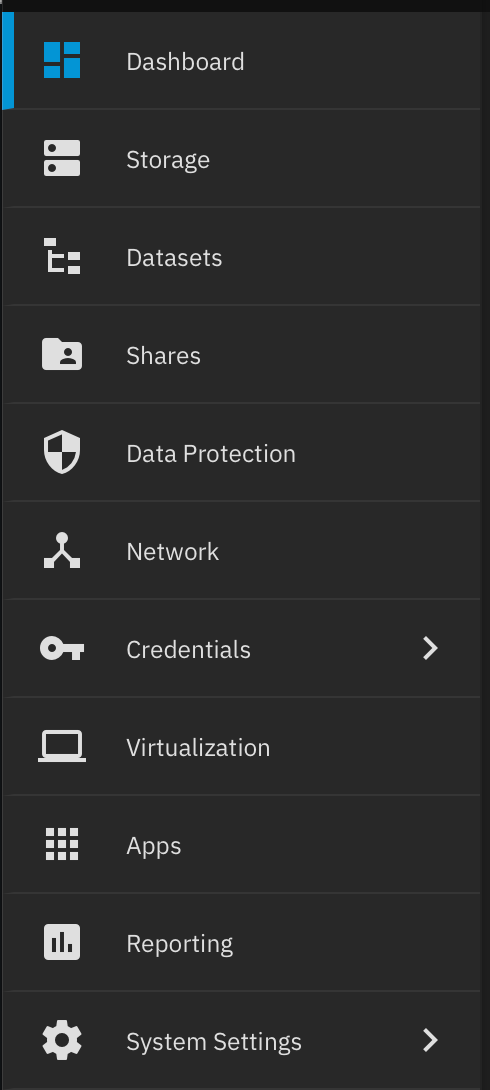
This has more features than I thought; beside managing and sharing my storage, I can have Virtual Machines or Apps hosted on TrueNAS SCALE. This was like another Home Server, but a problem came up: the 16GB RAM of my PC was not enough to host both Ubuntu and TrueNAS. Checked the TrueNAS Minimum Hardware Requirements and its full capabilities, I decided to have a dedicated computer with more suitable hardware for self-host.
The dedicated computer was not expensive, there were many X99 mainboard options with unbelievable cheap price. My monitor had 2 extra HDMI ports so it could be shared between the 2 computers, the mouse and keyboard were shared too using a KVM switch. I went for an open case rig with the Sniper X99 mainboard, Intel Xeon E5 2680v4 CPU, 64 GB ECC RAM (2 sticks), MSI Radeon RX-5600-XT GPU, 512GB SSD, 12TB HDD, and a 550W PSU. The rig fitted perfectly under my gaming corner.
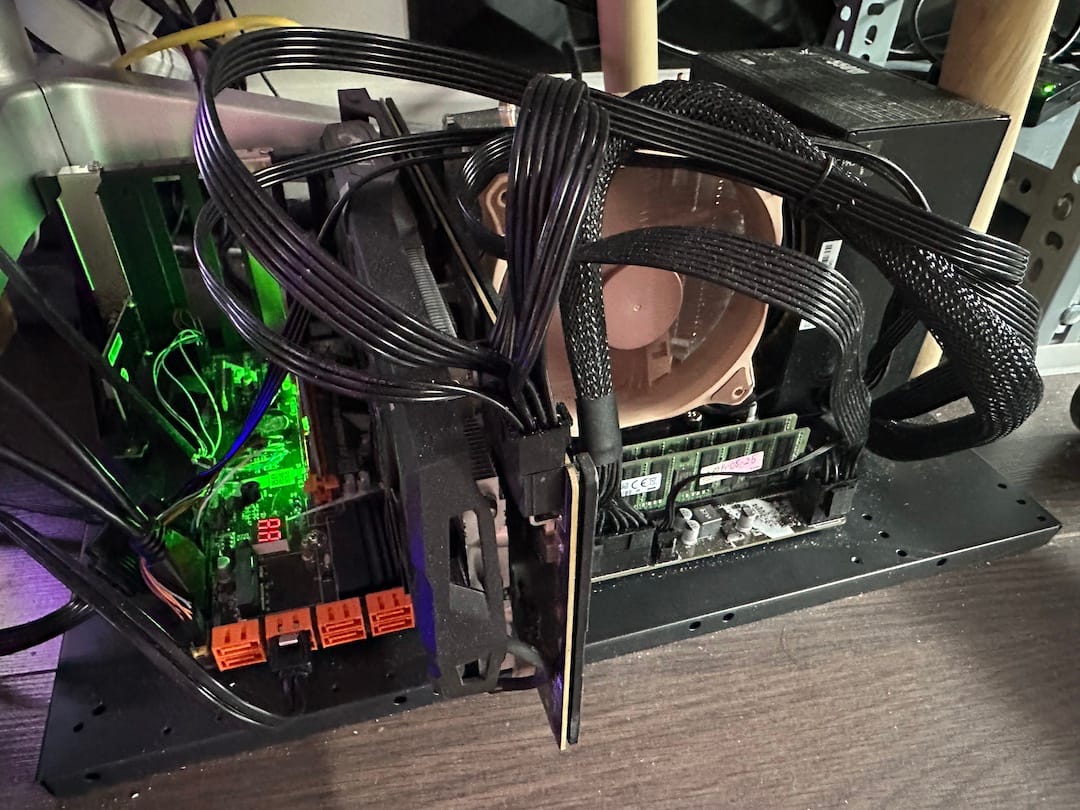
It was quite fun to build the rig myself piece by piece, I got the chance to learn about the cables, lanes, ports and components of a computer. I went for Windows 11 for the OS, a better choice should have been Proxmox but this came into place later. With the new rig, I moved my TrueNAS VM here with much more resource to play with.
With TrueNAS at hand, I had a Warebox drive to store documents and softwares, a Backup drive to store work and important data, a SSD drive for claims by other services (this came later). The new rig had 8 SATA ports and 4 NVME lanes using PCIe bifurcation, I could build up RAID arrays from this setup easily.
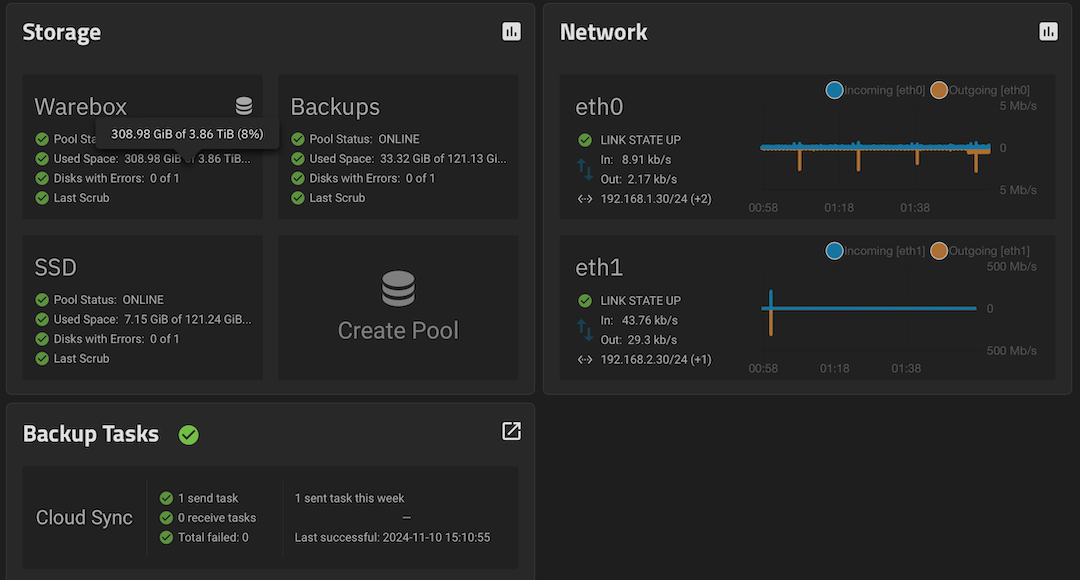
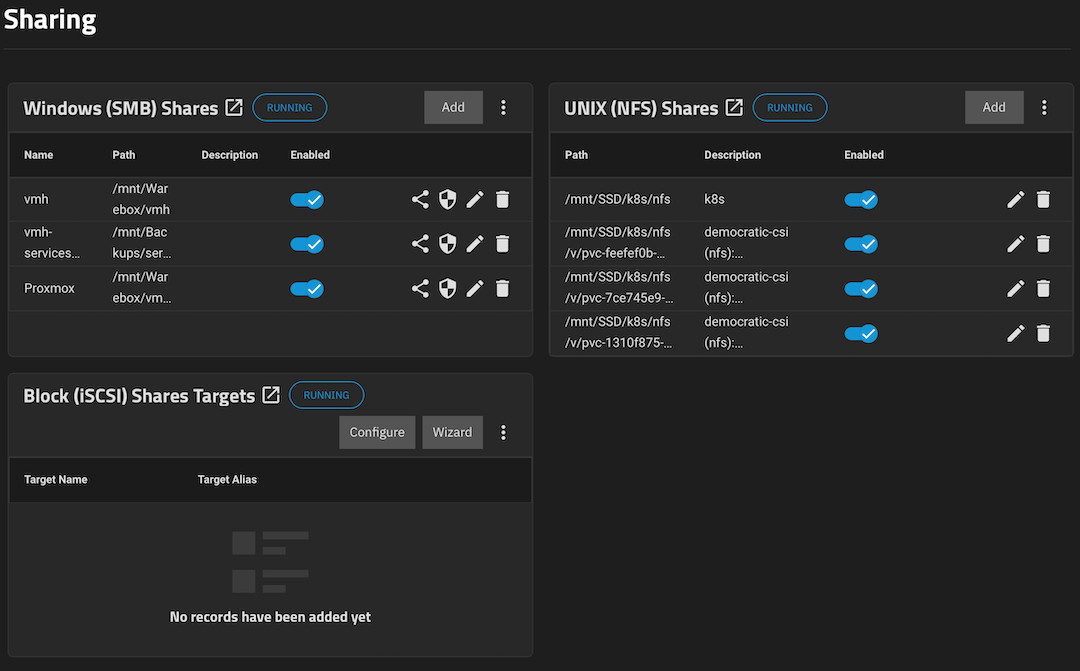
By sharing with SMB and NFS, I could attach the drives to any Windows, macOS, Linux machines.
Other self-host
I hosted many more apps with my Ubuntu Server and TrueNAS SCALE, some are really useful.
WireGuard: I needed a VPN solution to access my homelab services from the outside, VPN also route traffic through a secure tunnel so it is safer to use internet from any location. WireGuard was the standout VPN solution, and wg-easy helped to run both WireGuard server and a WebUI to add new devices; wg-easy could be installed either by Docker Compose, or as an app on TrueNAS. The most challenging part was to Expose Wireguard VPN Server to the Internet, which was described in this Wireguard guide for dummies. My internet router has the built-in DDNS support for no-ip.com, I took advantage of that then set up a UDP Port Forwarding to my WireGuard server. My public ip was behind CGNAT, so the last part was to contact my ISP to remove me from CGNAT. All done, my WireGuard server was ready to connect by the WireGuard apps on my phone and laptop.
Gitea: this is the best solution to have a self-host git server, I got it to work easily with Docker Compose by following this guide
Paperless-ngx: a great option to upload and manage documents, I installed it as an app on TrueNAS.
Vaultwarden: I wanted to have my own self-host service to store my secrets, I followed this guide to install it via Docker Compose, and connect to the server using Bitwarden app. The text and file sharing of vaultwarden were also cool.
Ghost: a cool option to self-host a blog, it is easy to customize with great themes and great tools. I’m hosting this blog using ghost 5 via Docker Compose.
Homepage: with many services at hand, I used homepage to organize all of them
Nginx Proxy Manager: I hosted different services on different machines, so a proxy server was needed to connect all of them from 1 portal, the setup guide with Docker Compose was straightforward. NPM also help to give https for my self-host services, via a free Let's Encrypt SSL certificate.
Cloudflare: I wanted to expose vaultwarden and ghost to the public so I needed Cloudflare. I followed this guide to buy a domain, enable Cloudflare Tunnel, create a Cloudflare connector using Docker Compose, then my services were ready to be accessed. Also, Cloudflare API was the DNS Challenge Provider for my Let's Encrypt SSL cert.
What next?
This was quite a journey! I went through a lot of struggles to build all the servers, but it was really exciting and worth it after all. With the new Rig at hand, I wanted to go even further, not just hosting the open source code. In the next journey, I worked on some other tools to host my own code within my homelab, and replaced some expensive VPS.